Articles
How To Make A Scarf Joint
Modified: May 6, 2024
Learn how to make a scarf joint with our informative articles. Gain the skills and techniques needed to create strong and seamless woodworking connections.
(Many of the links in this article redirect to a specific reviewed product. Your purchase of these products through affiliate links helps to generate commission for Storables.com, at no extra cost. Learn more)
Introduction
A scarf joint is a woodworking technique used to join two pieces of wood end-to-end in a seamless manner. It is commonly used in various projects, such as furniture making, flooring installation, and even musical instrument construction. The scarf joint creates a strong and durable bond between the two pieces of wood, ensuring stability and longevity.
In this article, we will guide you through the steps involved in making a scarf joint. We will cover the materials needed, the cutting process, surface preparation, glue application, fitting the joint together, clamping, allowing the glue to dry, and finishing the joint.
Whether you are a seasoned woodworker or a beginner looking to expand your skills, learning how to make a scarf joint will open up a world of possibilities for your woodworking projects. So, let’s dive in and discover the art of creating a seamless and strong wood joint.
Key Takeaways:
- Master the art of creating a seamless and strong wood joint with the scarf joint technique, enhancing the stability and longevity of your woodworking projects.
- From precise cutting to secure clamping, each step is crucial in achieving a professional and polished scarf joint, elevating the aesthetic appeal and durability of your woodworking creations.
Read more: How To Make A Blanket Scarf
Materials Needed
Before you begin making a scarf joint, gather the following materials:
- Two pieces of wood: Choose the type of wood that matches your project. Make sure the lengths of the two pieces exceed the desired length of the final joint.
- Measuring tape or ruler: Use this tool to measure and mark the desired length of the scarf joint on the wood.
- Saw: A table saw or a circular saw with a fine-toothed blade is ideal for making precise cuts.
- Sandpaper or a sanding block: This will be used to smooth any rough edges and prepare the surfaces for gluing.
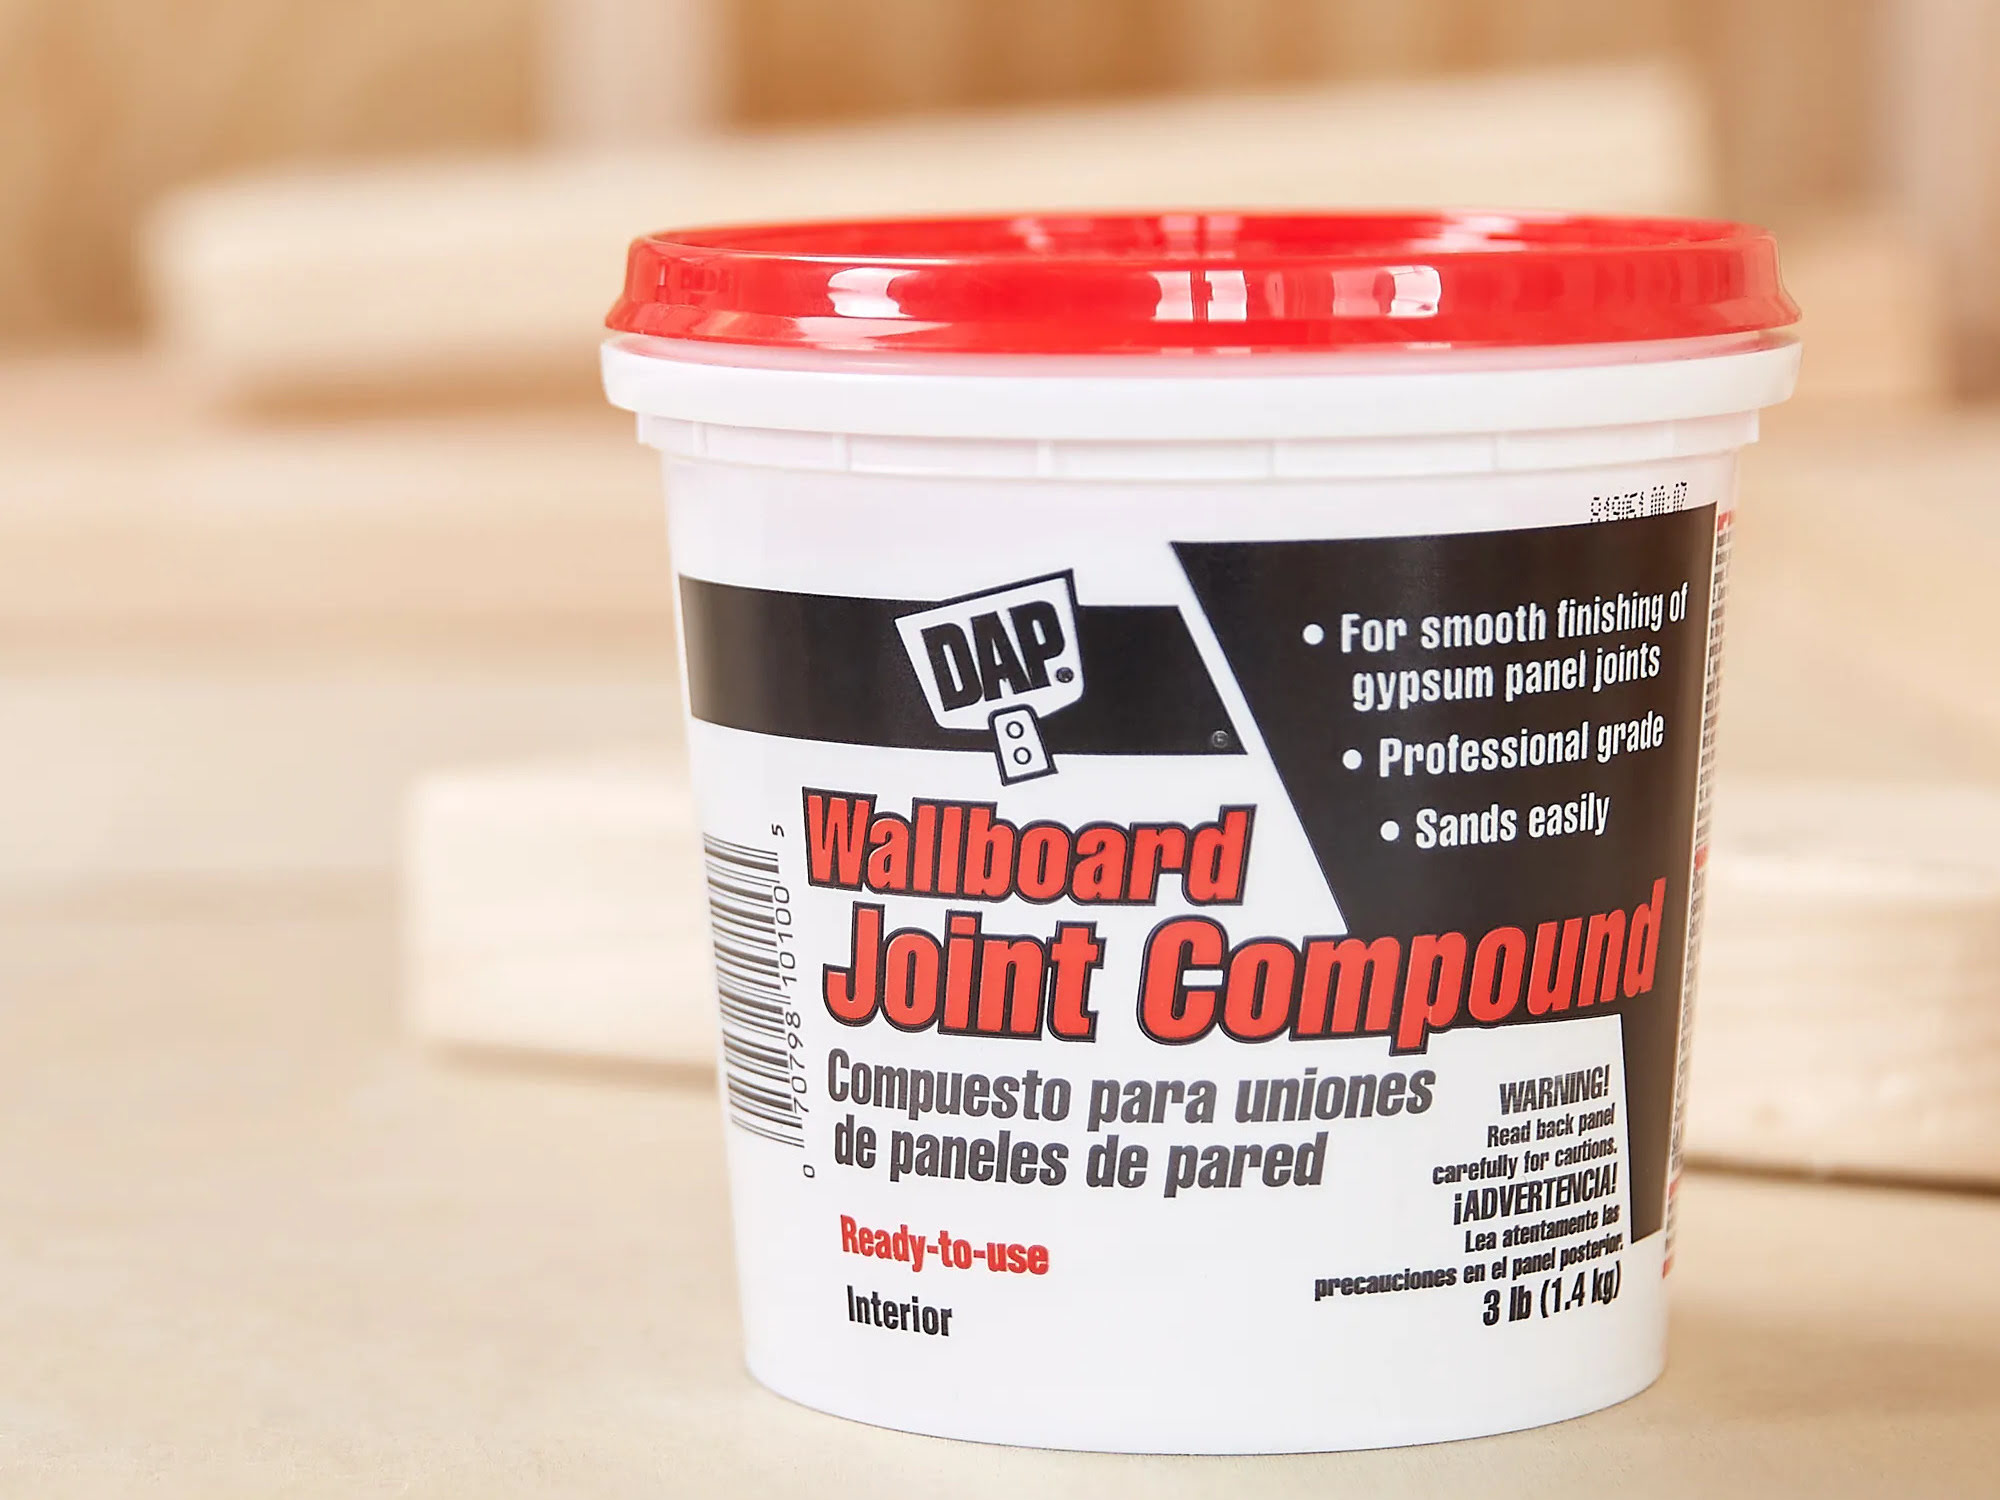
- Wood glue: Select a high-quality wood glue that provides a strong bond.
- Clamps: You will need clamps to hold the joint together while the glue dries. Choose clamps that are appropriate for the size of your project.
- Paintbrush or roller: This is used to apply the wood glue evenly onto the surfaces of the joint.
- Protective gloves: It’s always a good idea to wear gloves to protect your hands during the woodworking process.
- Protective eyewear: Safety glasses or goggles will protect your eyes from any flying wood particles.
- Dust mask: A dust mask will protect you from inhaling fine wood particles and dust.
Having all these materials ready before starting the process will help ensure a smooth and efficient scarf joint construction. Now that you have gathered all the necessary materials, let’s move on to the next step: cutting the scarf joint.
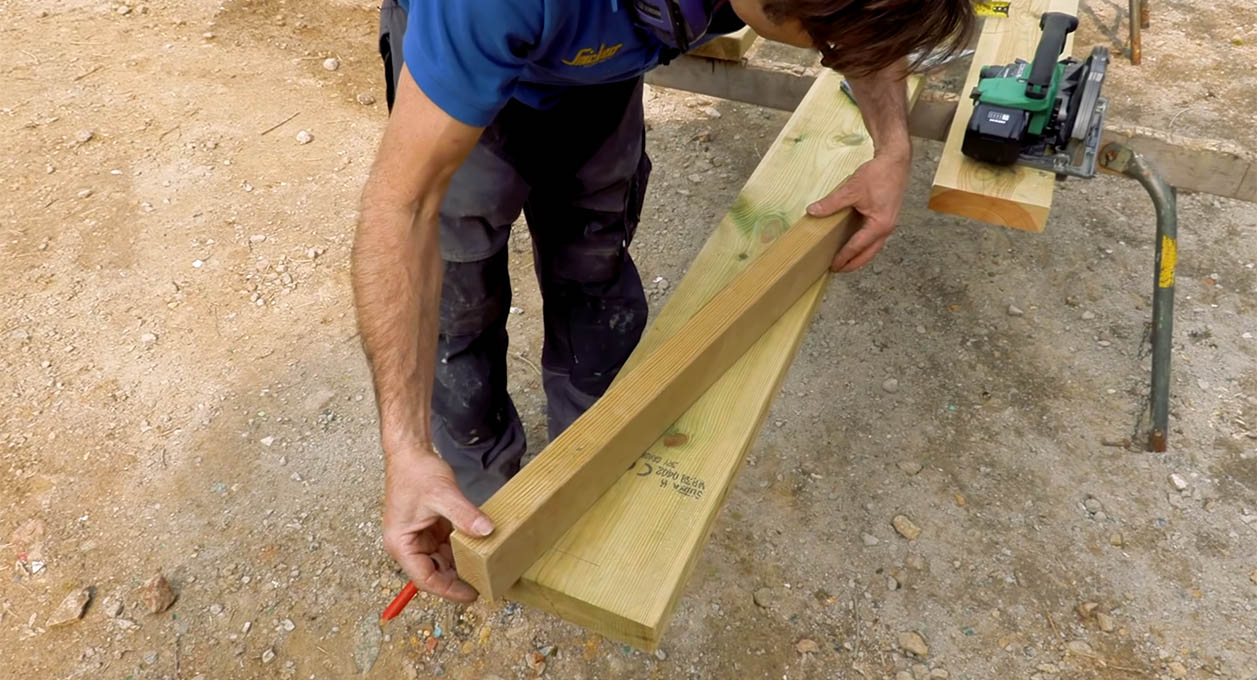
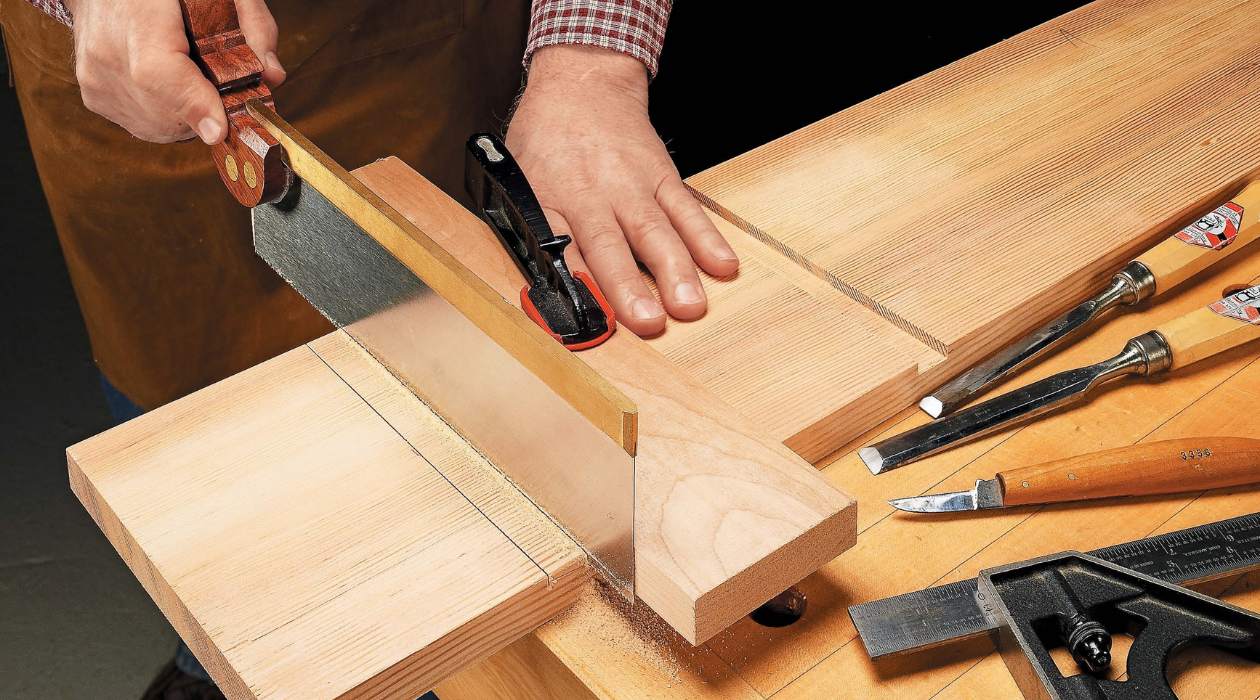
Step 1: Cutting the Scarf Joint
The first step in making a scarf joint is to cut the angled ends on both pieces of wood that will be joined together. The angled cut creates a larger surface area for gluing, resulting in a stronger joint. Here’s how to do it:
- Measure and mark the desired length of the scarf joint on each piece of wood. Ensure the marks are parallel to each other.
- Set your saw at a 45-degree angle. If you have a miter saw, this can be easily done by adjusting the saw’s angle settings. If you are using a circular saw, you can use a protractor or angle guide to achieve the desired angle.
- Secure the wood firmly in a vise or clamp it securely to a workbench, ensuring that the area being cut is properly supported.
- Align the saw blade with the marked line and make the cut. Take your time and ensure an accurate and clean cut.
- Repeat the process for the other piece of wood, ensuring that the angle and length of the cut match the first piece.
By cutting both pieces of wood at the same angle and length, you will create a perfect match when fitting the joint together later on. Once the cuts are complete, move on to the next step: preparing the surfaces of the joint.
Step 2: Preparing the Surfaces
After cutting the scarf joint, it’s essential to prepare the surfaces of the joint to ensure a strong and durable bond. Here’s how to properly prepare the surfaces:
- Use sandpaper or a sanding block to smooth any rough edges on the cut ends of the wood. This will help create a flush joint and prevent any uneven gaps between the pieces.
- Remove any dust or debris from the surfaces. Use a brush or compressed air to clean the joint thoroughly.
- Apply a liberal amount of wood glue to both surfaces of the joint. Use a brush or roller to spread the glue evenly, ensuring full coverage.
- Allow the glue to sit for a few minutes to become tacky. This will enhance its bonding properties. Refer to the manufacturer’s instructions for the recommended drying time.
Preparing the surfaces of the joint is crucial for achieving a strong and secure bond. The smooth and clean surfaces, along with an even layer of glue, will maximize the adhesive strength. Once the surfaces are prepared, it’s time to move on to the next step: fitting the joint together.
Step 3: Applying Glue
Now that the surfaces of the scarf joint are prepared, it’s time to apply the wood glue. Proper application of glue is crucial to ensure a strong bond between the two pieces of wood. Here’s how to apply the glue:
- Using a brush or roller, apply a liberal amount of wood glue to one of the prepared surfaces of the joint. Make sure to cover the entire surface evenly.
- Repeat the process on the other prepared surface, ensuring that both surfaces are coated with glue.
- Make sure that the glue is applied in an even layer, without any excess or gaps.
It’s important not to rush this step and ensure proper coverage of the glue. The glue acts as the adhesive that holds the joint together, so a thorough and even application is crucial. Once the glue is applied, it’s time to move on to the next step: fitting the joint together.
When making a scarf joint, ensure that the angle of the joint is precise and the surfaces are flat to achieve a strong and seamless connection.
Read more: How To Make A Finger Joint With Hand Tools
Step 4: Fitting the Joint Together
Now that the surfaces are properly glued, it’s time to fit the scarf joint together. This step requires precision and careful alignment to ensure a seamless connection between the two pieces of wood. Follow these steps to fit the joint together:
- Align the cut ends of the two pieces of wood, ensuring that the angled cuts form a flush and tight joint.
- Gently press the joint together, applying even pressure to ensure a snug fit.
- Check the alignment of the joint and make any necessary adjustments to ensure a seamless connection.
It’s crucial to take your time and ensure that the joint fits tightly and evenly. The goal is to create a seamless transition between the two pieces of wood, minimizing any visible gaps or misalignment. Once the joint is fitted together, it’s time to move on to the next step: clamping the joint.
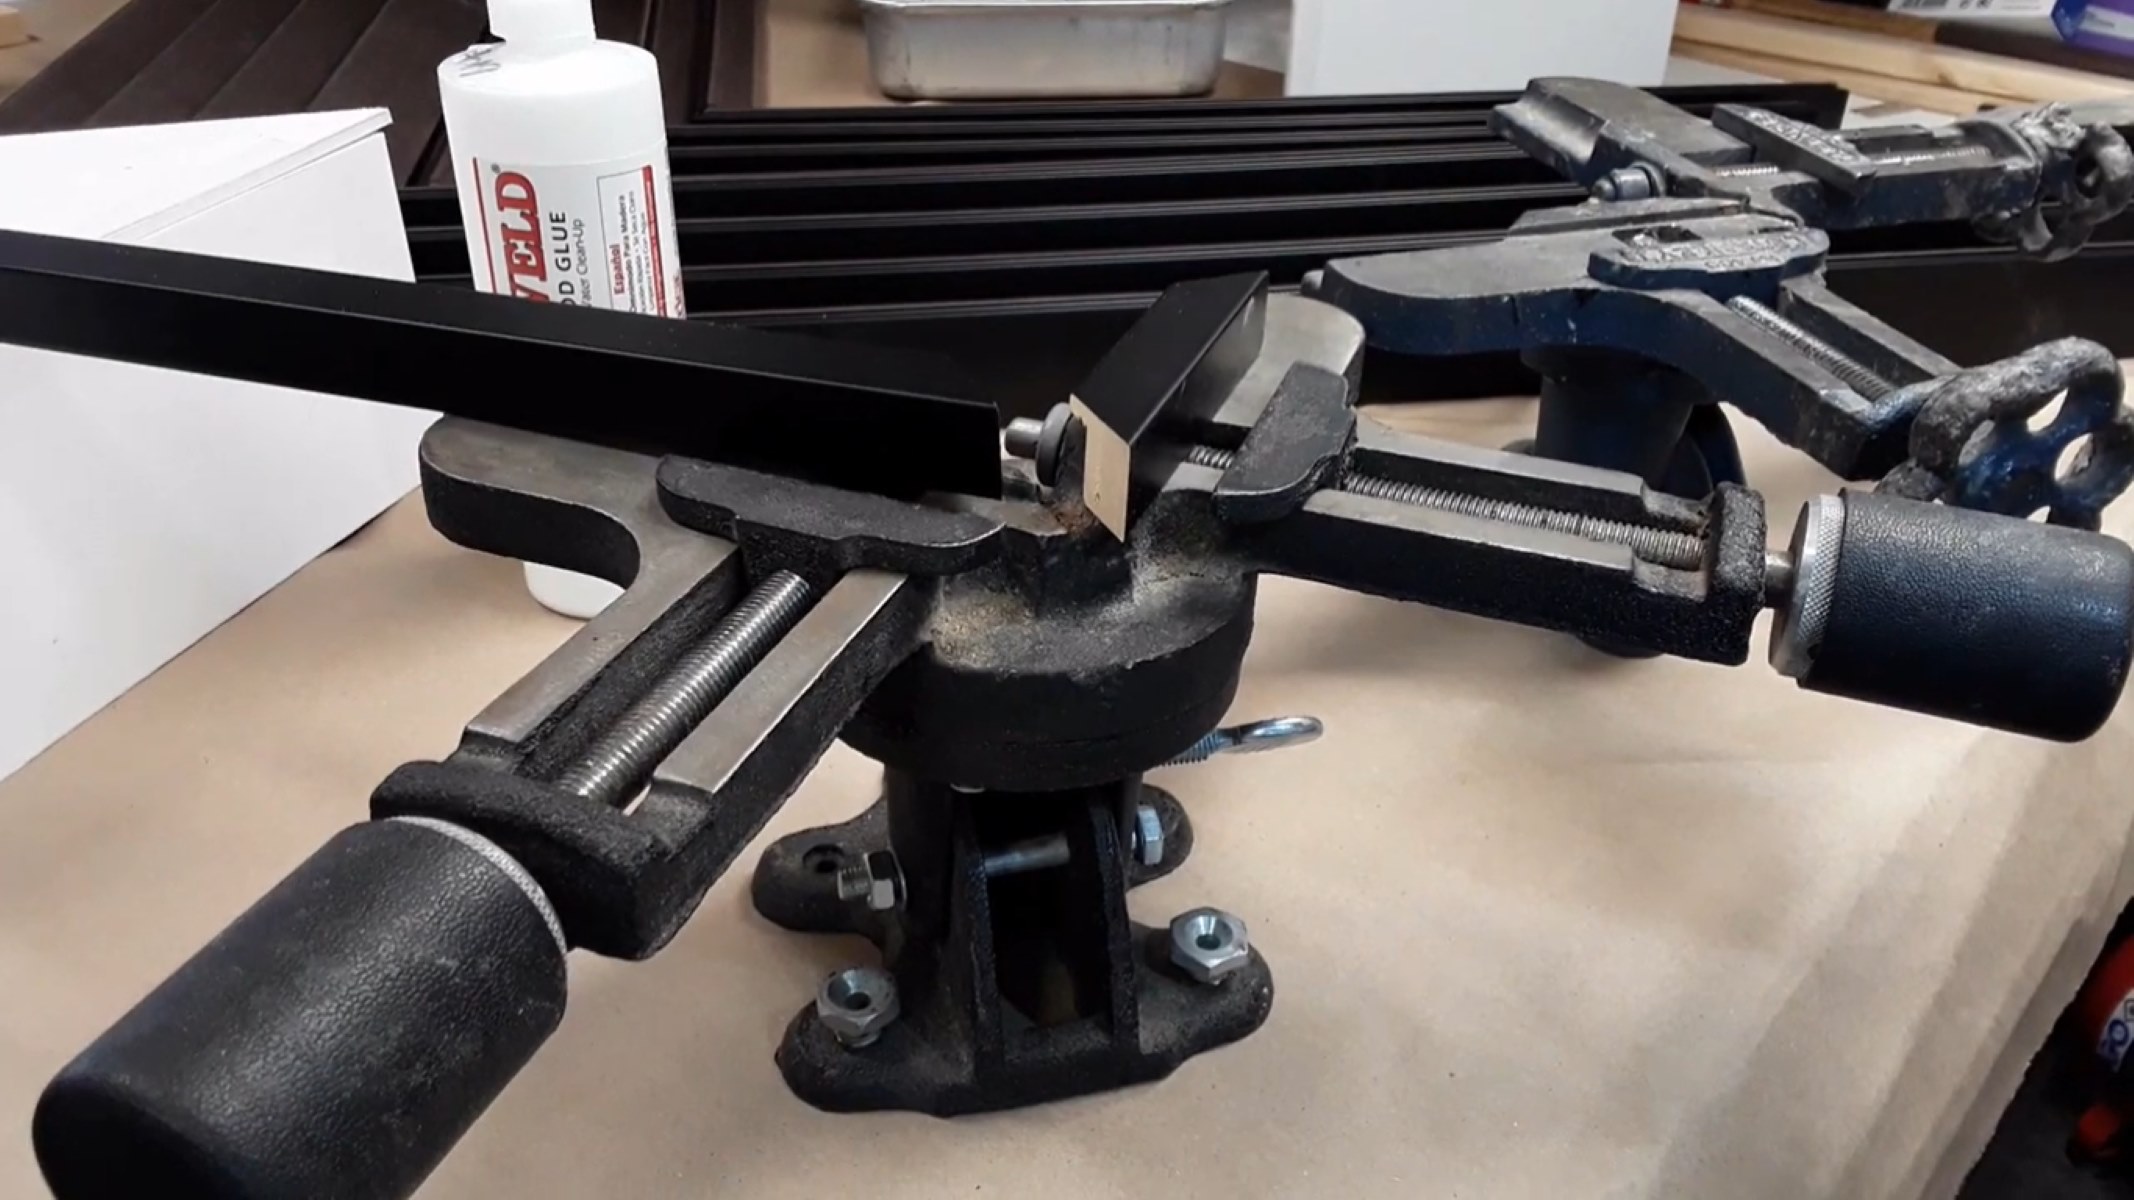
Step 5: Clamping the Joint
After fitting the scarf joint together, it’s essential to secure it in place while the glue sets. This is where clamping comes into play. Proper clamping ensures that the joint remains tight and secure during the drying process. Follow these steps to clamp the joint:
- Select the appropriate clamps based on the size and length of your project. Make sure the clamps are in good working condition.
- Position the clamps on the wood, ensuring that they are evenly distributed along the joint. Apply gentle pressure to hold the joint together.
- Tighten the clamps gradually, applying equal pressure to both sides of the joint. Avoid over-tightening, as it may squeeze out excess glue and affect the integrity of the joint.
- Double-check the alignment of the joint and make any necessary adjustments before fully tightening the clamps.
It’s crucial to ensure that the joint remains tightly secured during the clamping process. This will provide optimal pressure for the glue to bond the wood fibers together. Once the clamps are in place, it’s time to move on to the next step: allowing the glue to dry.
Step 6: Allowing the Glue to Dry
After clamping the joint, it’s important to allow the glue to dry and cure properly. This ensures a strong and durable bond between the two pieces of wood. Follow these steps to allow the glue to dry:
- Refer to the manufacturer’s instructions for the recommended drying time of the wood glue you are using. Different types of wood glue may have varying drying times.
- During the drying process, avoid disturbing or moving the joint. Any movement can compromise the alignment and strength of the joint.
- It’s recommended to leave the joint clamped for a minimum of 24 hours, allowing the glue to fully cure. However, refer to the specific drying time mentioned on the wood glue product.
- Keep the joint in a well-ventilated area with a stable temperature to ensure proper drying of the glue.
Patience is key during this step. Rushing the drying process can result in a weak joint that may not withstand the stresses placed upon it. Once the glue has completely dried, it’s time to move on to the final step: finishing the scarf joint.
Step 7: Finishing the Scarf Joint
After the glue has dried and the joint is securely bonded, it’s time to finish the scarf joint. Finishing the joint not only enhances its aesthetic appeal but also provides added protection and stability. Follow these steps to complete the finishing process:
- Carefully remove the clamps from the joint, being cautious not to apply excessive force that could damage the joint.
- Inspect the joint for any excess glue that may have oozed out during the clamping process. Use a scraper or a chisel to gently remove any excess glue.
- Sand the joint using fine-grit sandpaper or a sanding block. This will smooth out any rough edges and create a seamless transition between the two pieces of wood.
- Apply a wood finish or stain to the joint if desired. This will enhance the appearance of the joint and provide added protection to the wood.
- Allow the finish to dry according to the manufacturer’s instructions before handling or using the joint in your project.
Finishing the joint adds the final touch to your scarf joint, giving it a professional and polished look. It also helps protect the wood from moisture, wear, and tear. Once the finishing process is complete, your scarf joint is ready to be incorporated into your woodworking project.
Congratulations on successfully making a scarf joint! With this technique, you can create strong and seamless connections in your woodworking projects, whether it’s furniture, flooring, or musical instruments. Remember to practice patience, attention to detail, and proper technique for optimal results. Now, go ahead and put your newly acquired scarf joint skills to use in your next woodworking endeavor.
Read more: How To Make Dovetail Joints With Hand Tools
Conclusion
Making a scarf joint is a valuable skill for any woodworker. It allows for the seamless joining of two pieces of wood, creating a strong and durable connection. By following the steps outlined in this article, you can master the art of creating a scarf joint and apply it to various woodworking projects.
From cutting the angled ends to fitting the joint together, applying glue, clamping, allowing the glue to dry, and finishing the joint, each step is essential to ensure a successful scarf joint construction. Take your time and pay attention to detail to achieve the best results.
Remember to choose high-quality materials and tools to ensure the longevity and stability of the joint. Proper surface preparation, even glue application, and secure clamping are vital for achieving a strong bond. Allow the glue to dry thoroughly and consider applying a finish to protect and enhance the joint’s appearance.
With the scarf joint technique in your repertoire, you can take your woodworking projects to the next level. Whether you’re creating furniture, installing flooring, or crafting musical instruments, the scarf joint will provide you with a reliable and aesthetically pleasing connection.
So, why wait? Start practicing and honing your skills in making scarf joints. Unlock the potential of seamless and robust wood joinery, and let your woodworking projects stand out with the beauty and strength of a well-crafted scarf joint.
Now that you've mastered making a scarf joint, why not broaden your woodworking skills? Our next feature, "14 Best Woodworking for 2024," offers a fresh list of projects and techniques that will keep your tools buzzing and sawdust flying. Whether you're a seasoned woodworker or just starting out, these insights will surely refine your craft. Don't miss out on discovering new methods to enhance your woodworking repertoire.
Frequently Asked Questions about How To Make A Scarf Joint
Was this page helpful?
At Storables.com, we guarantee accurate and reliable information. Our content, validated by Expert Board Contributors, is crafted following stringent Editorial Policies. We're committed to providing you with well-researched, expert-backed insights for all your informational needs.


0 thoughts on “How To Make A Scarf Joint”