Heading out the door? Read this article on the new Outside+ app available now on iOS devices for members! Download the app.
Scrolling past all of the advanced yoga poses and transitions on Instagram can be intimidating—especially when you’re a beginner at yoga. Years ago, when I first started practicing yoga, I didn’t think I’d ever be able to come into any of the poses. I’d never been an athlete or dancer or gymnast and I sort of figured those people were simply born strong.
I was wrong. With consistent practice, over many months and years, I created more physical, mental, emotional, and spiritual strength than I’d ever thought was possible. The secret was being humble enough to begin with the basics and put in the work (almost) every day.
Yoga is a continual process of discovering yourself and transcending whatever thoughts or limitations you impose upon yourself. The ability to come into any particular pose is never the end. The poses are vehicles for an experience of yourself. When practiced regularly, yoga can be the means to a sort of unshakable strength that both comes from and results in a calm and steady mind.
This sequence is designed for yoga students—especially beginners—who want to build strength. The practice focuses on the key elements of learning to engage your abdominals and draw strength from there, finding stability in your shoulders, and continually come back to balance in your body and your mind. It also includes options for poses so if you’re still learning how to take your body in the various shapes, you can start with whatever variation feels right for you. Continue to practice and you’ll feel your strength start to take shape.
4 yoga poses to build strength
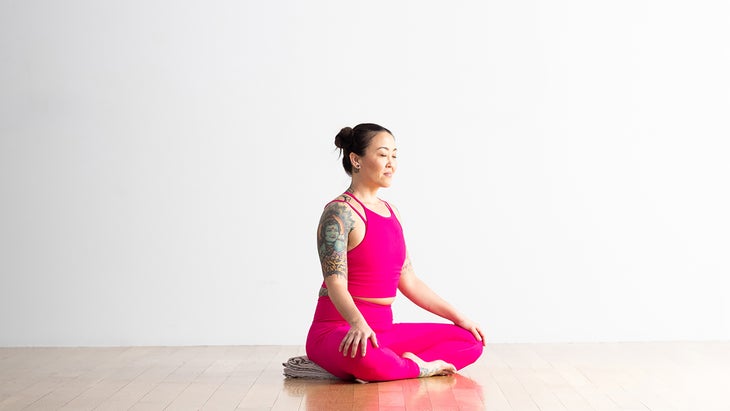
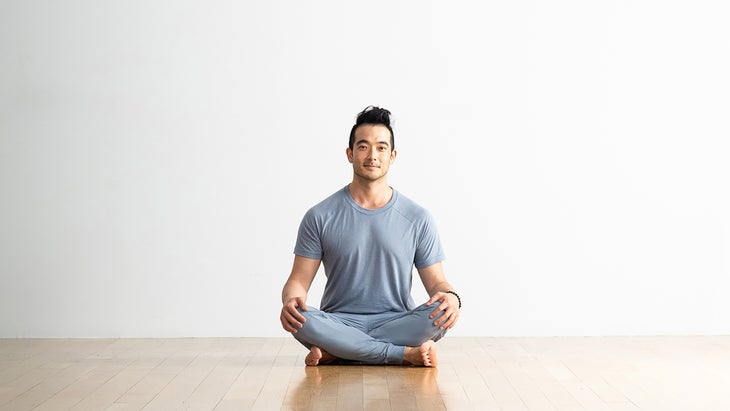
Sukhasana (Easy Seat)
If you’re a beginner, come to a comfortable seated cross-legged position. Try to sit with your shoulders over your hips and then relax your shoulders away from your ears. Rest your hands on your knees. If you find yourself leaning forward or your hips or legs feel tense or tight or your knees are lifted quite a lot from the mat, sit on the edge of a couple folded blankets or a pillow. Close your eyes and focus on allowing your breath to slow. You can count the breaths, in and out, to steady your mind. Sit tall and lift your chest away from your hips but without holding your breath or becoming rigid. Stay here in silent reflection for at least 1 minute. Each time your mind wanders, redirect it back to your breath. Remain free from judgment of yourself or your practice.
After you’ve practiced this pose several times, you’ll gain strength in your abdominals and you may find more opening in your hips. You’ll be able to more easily relax your upper body. If you feel that you no longer need a blanket, you can try it without, although some students and teachers who have been practicing for years prefer to still use that support.
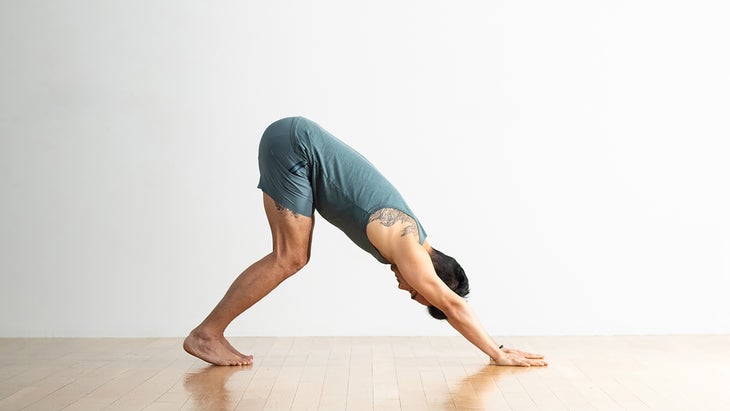
Adho Mukha Svanasana (Downward-Facing Dog Pose)
If you’re a beginner, come onto your hands and knees. Bring your hands shoulder-distance apart and your knees hip-distance apart. Gaze down and ensure your shoulders are over your wrists. Spread your fingers wide and press down evenly through your hands and lift your hips up and back as you start to straighten your legs. It’s fine to keep as much bend in your knees as you need. (If you have tight hamstrings, you’ll want to keep that bend.) Continue to press down through your index fingers and straighten your arms. This is the basic shape of Downward-Facing Dog. Stay here for 5 slow breaths.
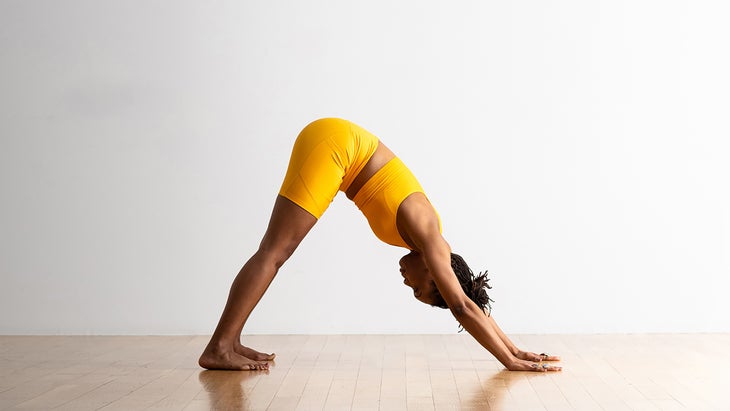
After you’ve practiced this pose several times, start to straighten your legs a little or a lot more. Let your heels reach toward the ground but don’t force them to touch. Draw your shoulder blades away from one another, tuck your chin slightly, and gaze toward your thighs or navel. Engage your quadriceps by trying to draw your knees toward your hips and press down into the bases of your big toes. Draw your lower belly in and draw the pelvic floor upward. Your body will create the shape of an inverted V. That’s a lot of cues for Downward-Facing Dog. You can focus on one at a time and let yourself explore the rest of the cues in time. Stay here for 5 slow breaths.
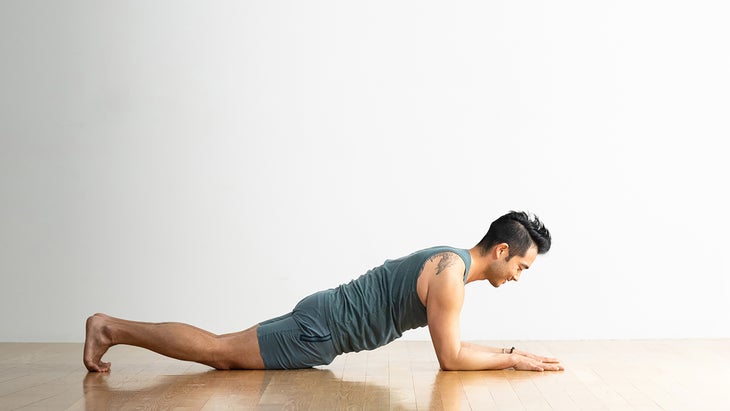
Forearm Plank
If you’re a beginner, transition out of Down Dog by lowering your knees to the mat. Bring your elbows to the mat so they’re directly beneath your shoulders. Your forearms will be parallel to one another and your palms will face down. Spread your fingers wide and draw your shoulder blades away from one another. Press down from your shoulders and though your elbows while keeping your chest broad. Stay here for 5 slow breaths.
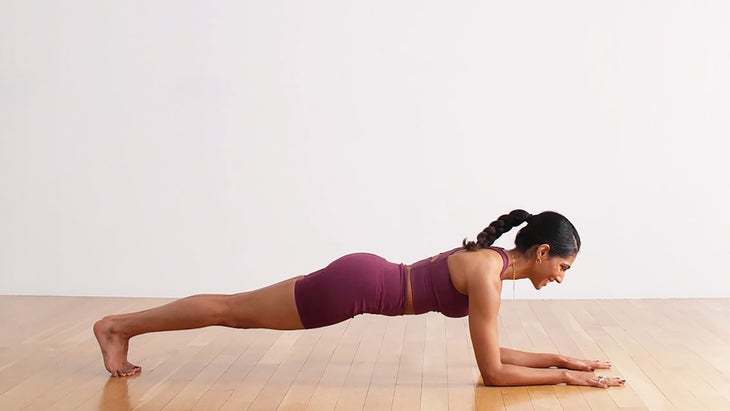
After you’ve practiced this pose several times, lower your elbows to the mat so they’re directly beneath your shoulders. Your forearms will be parallel to one another and your palms will face down. Do all of the above and also raw your lower ribs in toward your spine to engage your abdominals. Lengthen your tailbone toward the back of the mat. Draw your legs in toward one another. Stay here for 5 slow breaths. Lower yourself to the mat. Repeat 3 times.
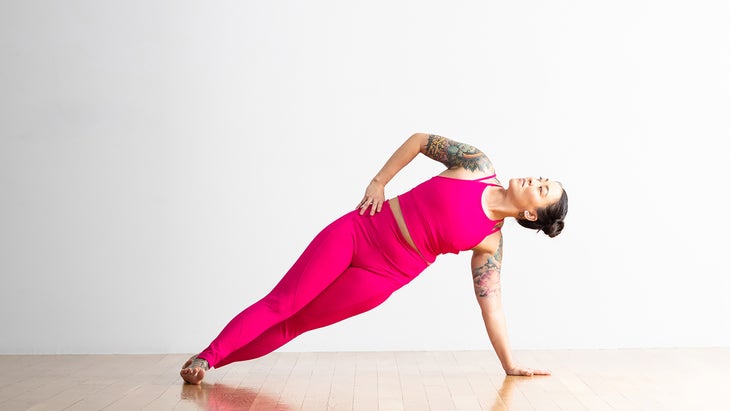
Vasisthasana (Side Plank)
If you’re a beginner, come to Downward-Facing Dog and shift your shoulders forward until they’re almost over your wrists. Transfer your weight into your left hand. Start to stack your right hip over your left. As you do so, you’ll naturally roll onto the outer edge of your left foot and the inner edge of your right foot. Your feet will still be about hip-distance apart. If you can, bring your right hand to your right hip and keep your gaze down at the mat to help with your balance. Press firmly down through your left hand and try to keep your back straight and long rather than arched or rounded. You’re going to wobble and that’s perfectly okay. When you start to feel balanced, you can slowly turn your gaze up toward the ceiling. Stay here for 5 slow breaths. Lower your right hand to the mat, followed by your knees, and rest. Repeat on your left side.
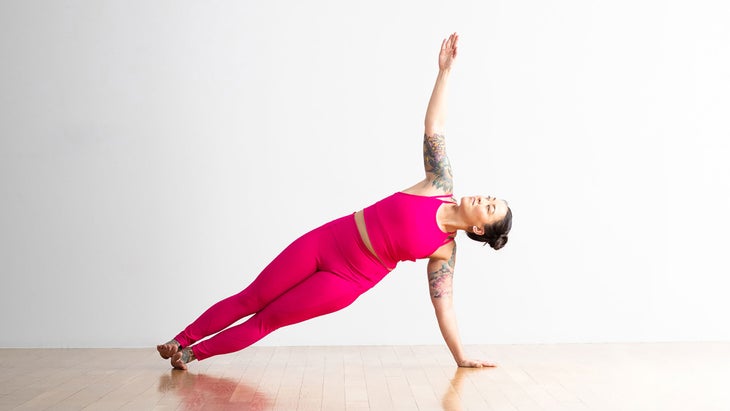
After you’ve practiced this pose several times, stack your right foot on top of your left. Flex both feet to draw your toes toward your nose. Press firmly through your left hand. If you feel comfortable, reach your right arm toward the ceiling as you keep your gaze steady and down. Eventually, slowly bring your gaze up to your right hand. Stay here for 5 slow breaths. Lower your right hand to the mat, followed by your knees, and rest. Repeat on your left side.
About Kino MacGregor
Kino MacGregor is a self-professed Handstand lover. She’s also an Ashtanga Yoga teacher who travels worldwide, the author of several books, and the co-founder of Miami Life Center. Learn more at http://www.kinoyoga.com/